

To create ARDUINO PROJECT we use the following tools
We will start with the blinking code, because it is a hello world example producing the LED to switch ON and OFF
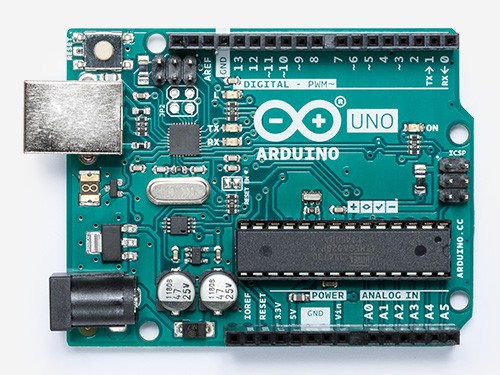
Before the code, we need to be sure that the Arduino board is recognised by the computer. When Arduino Software is opened and the board is not recognised we need to go to device manager(Administrador de Dispositivos) found at Control Panel. From the device manager we will see the Arduino board with a question mark. After that we will use the right button to install the drivers found in the Arduino folder. Finally we need to check the ports and must be selected beforehand in the Arduino software.
It is also interesting to check the blinking code found in Arduino software under the example tab in order to be sure that our system Arduino-computer is working.
void setup() { //Set up is the settings of Arduino.
// initialize digital pin LED_BUILTIN as an output.
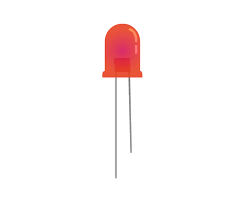
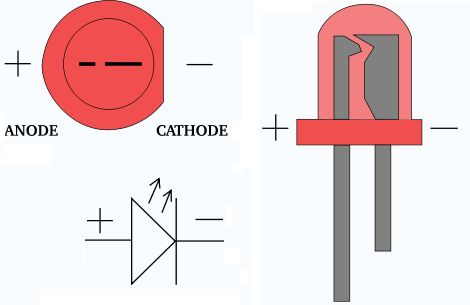
//LED_BUILTIN is pin 13 because it has an internal resistor and you can plug in a LED in the board respecting polarity
pinMode(LED_BUILTIN, OUTPUT); //We can define as an INPUT or OUTPUT
}
// the loop function runs over and over again forever
void loop() {
digitalWrite(LED_BUILTIN, HIGH); // turn the LED on (HIGH is the voltage level)
delay(1000); // wait for a second
digitalWrite(LED_BUILTIN, LOW); // turn the LED off by making the voltage LOW
delay(1000); // wait for a second
}
Find the rules of Morse code and create a function for S and for O using that rules
To learn more check Tecnologies.net!